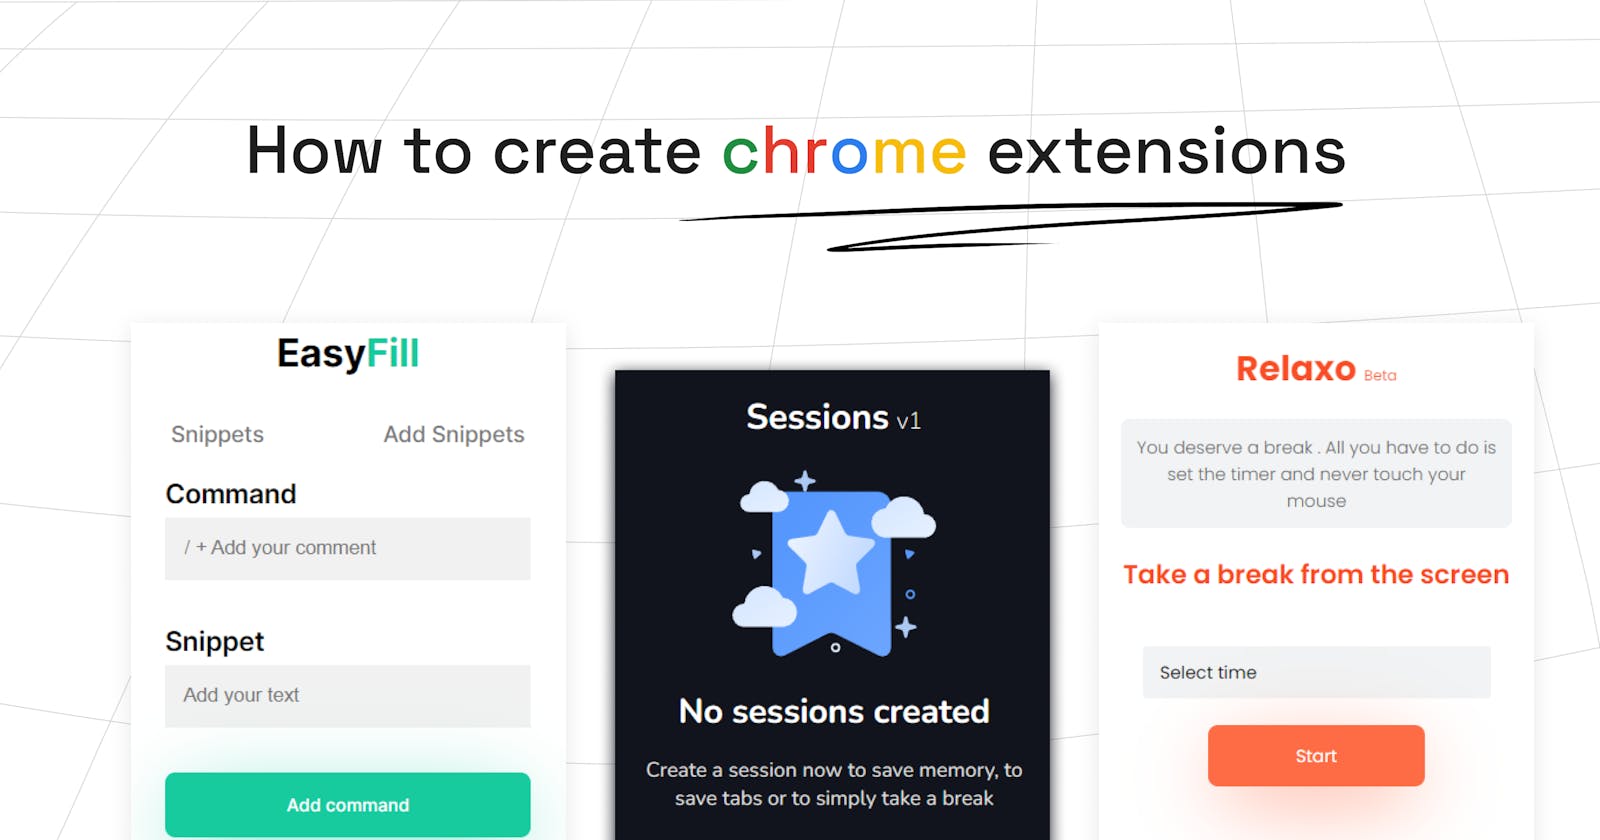
Learn the basics of creating your own chrome extension from scratch

Table of contents
Open Table of contents
What is a chrome extension anyway?
They are programs that add additional functionalities to chrome. They mainly focus on adding a single functionality to chrome. Extensions are built using HTML, CSS, and JS; users can download them from the chrome web store. Some of the popular chrome extensions are:
-
AdBlock: Extension which blocks ads in chrome
-
Google Translate: Extension by Google to view translations
-
Honey: The extension that you probably saw in one of Mr.Beast’s videos that saves money and earns rewards when you shop online
-
React Developer Tools: Extension which adds react debugging tools to chrome dev tools
The fundamentals
Developing a Chrome extension is easier than you might think - all you need to understand is one core concept and just four essential files.
They are:
-
Manifest.json
-
Popup
-
Background scripts
-
Content scripts
-
Message passing
1.Manifest.Json
The manifest file is a critical component of any Chrome extension. It contains information about the extension, such as its name, version, and permissions, as well as references to other files and scripts that make up the extension. Without a properly configured manifest file, your extension won’t work correctly.
2.Popup
The popup is the user interface that appears when a user clicks on the extension icon in their browser. This is a great place to include buttons, forms, or other elements that allow users to interact with your extension.
3.Background scripts
Background scripts run in the background of your extension, even when the user isn’t actively using it. These scripts are useful for monitoring network requests, updating extension settings, or handling events.
4.Content scripts
Content scripts are scripts that are injected into web pages that match a specific URL pattern. These scripts allow you to modify the behavior or appearance of a web page, such as adding new elements or hiding existing ones.
5.Message passing
Think about message passing as the way for different parts of your extension to communicate with each other. For example, you might use message passing to send data between the background script and a content script, or between different parts of your user interface. Message passing can be a powerful tool for building complex, interactive extensions.
Now let’s build a chrome extension
1.Manifest.json file
{
  "name": "Demo Extension",
  "description": "The description goes here",
  "version": "1.0",
  "manifest_version": 3,
  "permissions": ["tabs"],
  "action": {
    "default_popup": "popup.html"
  },
  "background": {
    "service_worker": "background.js"
  },
  "content_scripts": [
    {
      "matches": ["<all_urls>"],
      "js": ["content.js"],
      "run_at": "document_end"
    }
  ]
}
As you can see, the manifest contains metadata about the extension, including the extension’s name, description, and version number. It also specifies the version of the manifest format being used (version 3 is preferred because version 2 will be deprecated soon).
-
The “permissions” section lists any permissions that the extension requires in order to function properly. In this example, the extension requires access to the user’s open tabs.
-
The “action” section specifies what should happen when the user clicks on the extension’s icon. In this case, the default_popup property is set to “popup.html”, which means that a popup window will appear when the icon is clicked.
-
The “background” section specifies the background script that will run when the extension is installed. In this example, a service worker called “background.js” is used.
-
Finally, the “content_scripts” section specifies any content scripts that the extension will use to modify the behavior of specific web pages. In this example, a content script called “content.js” is run on all URLs, after the document has finished loading.
2.Popup.html
<!DOCTYPE html>
<html lang="en">
  <head>
    <title>Extension tutorial</title>
  </head>
  <body>
    <div>Hello world</div>
  </body>
</html>
This is the HTML that will be displayed when you open the extension
3.Content.js
window.addEventListener("load", loadContent, false);

function loadContent() {
  alert("content Script loaded");
  chrome.runtime.sendMessage({
    msg: "page_loaded",
  });
}
The content script sends a message to a background script when the page has finished loading. The code uses the “window.addEventListener()” method to listen for the “load” event, which fires when the page has finished loading.
-
When the event is triggered, the “loadContent()” function is called. This function first displays an alert to indicate that the content script has been successfully loaded.
-
Next, the code uses the “chrome.runtime.sendMessage()” method to send a message to the background script. A message is a simple object with a “msg” property set to “page_loaded”, which matches the type of message that the background script is listening for.
-
By sending this message, the content script is able to communicate with the background script and pass information between them. This code demonstrates how message passing can be used to facilitate communication between different components of a Chrome extension.
4.Background.js
chrome.runtime.onMessage.addListener(function (request) {
  if (request.msg === "page_loaded") {
    console.log("Message received. Background script loaded.");
  }
  return true;
});-
The background script uses the “chrome.runtime.onMessage.addListener()” method to create a listener function that waits for a message to be sent from the content script.
-
When the message is received, the function checks if the message is a specific type (in this case, “page_loaded”). If the message matches this type, the function logs a message to the console that indicates the background script has been successfully loaded.
-
Finally, the function returns “true” to indicate that the message has been successfully processed. This code shows how message passing can be used to communicate between content scripts and background scripts in a Chrome extension.
You can inspect the popup of the chrome extension to view the logged message
You can load your extension directory by going to chrome://extensions and by clicking on load unpacked.
That’s it!!
Congrats!! You have created your own chrome extension. You can style the extension like how you style webpages, with CSS and add more functionalities. You can also use libraries and frameworks like react, vue, etc along with module bundlers for creating chrome extensions. This is just the tip of the iceberg.